it's a bit late. However, it's better late than never.
Things have been a bit, bleh over the past week. All motivation was lost.
But here I bring you my current dyeing process.
First, I soak the wool wrapped in bundles for 30 minutes in an acid pre-soak.
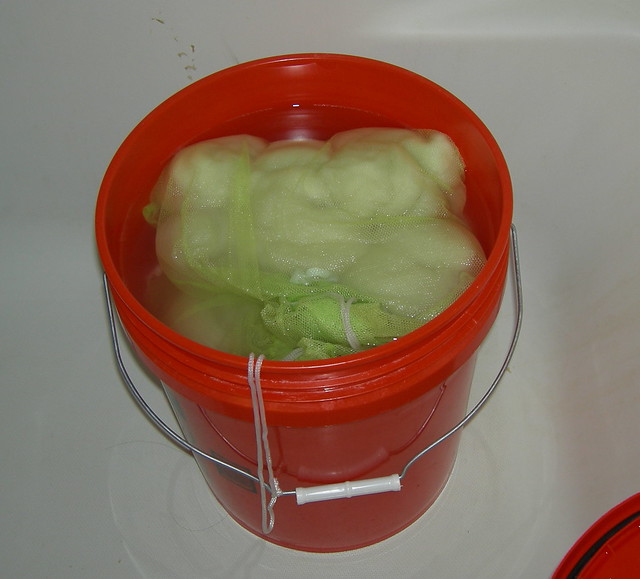 |
| pre-soak - 1 gal. water to 6 tbsp vinegar to 2 tsp synthrapol |
While I'm waiting for the soaking, dyes are mixed.
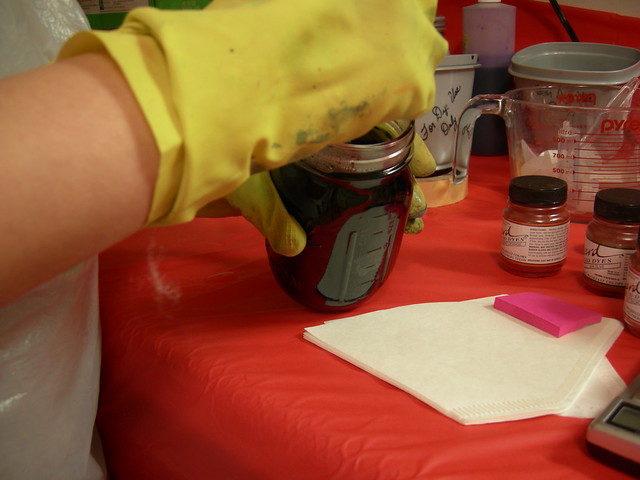
The dyes are set aside to be cooled before pouring into 16 ounce squeeze bottles.
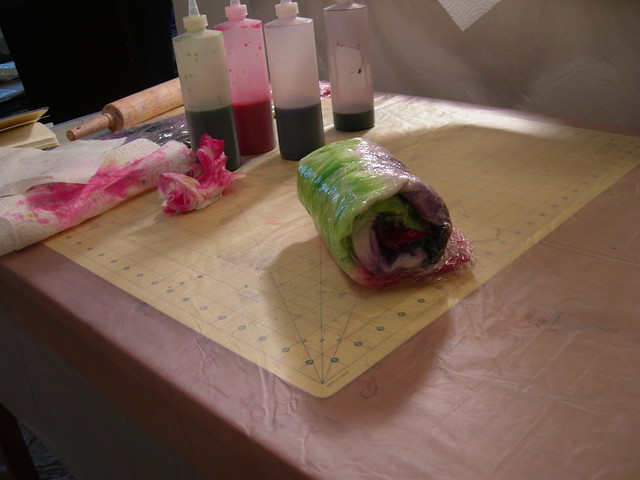
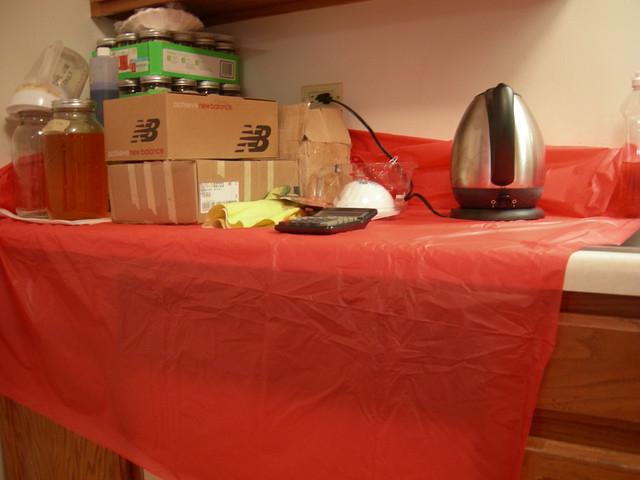
Next, I lay out 2 long pieces of plastic cling wrap down across the table.
Each piece has to overlap by about 2 inches.
When the timer dings and the roving is done in the pre-soak, they are gently squeezed or placed in my wonderful 'wuzzer' for a few seconds.
Then it's laid out in a zigzag pattern on the plastic.
Now to pour the dyes!
 | |
| I add labels as to color and strength as the pouring goes along. |
Now, to apply the dye.
Usually I measure then record how many inches of a particular color I will dye in my record book. This way the colors are replicable. After applying dye to this side, the roving is flipped over and applied to the other side.
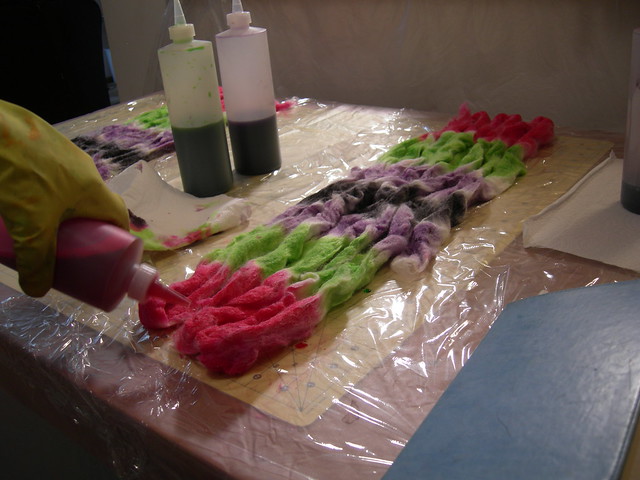
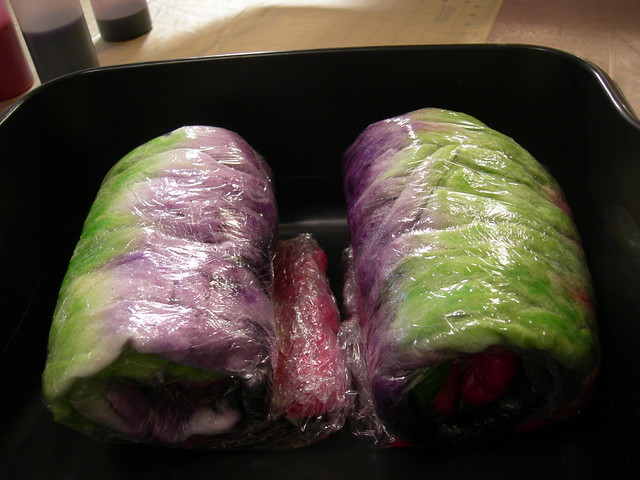
Next, excess dye is soaked up and the roving is rolled up into little bon bons.

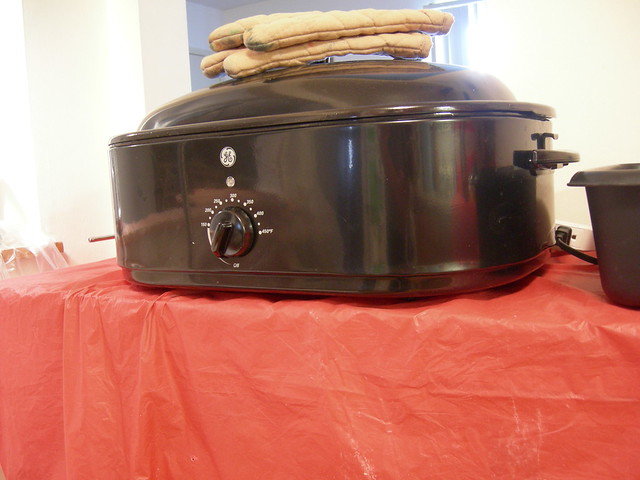
The bonbons are placed in a plastic tub as a method of drip free transport to the magic roaster oven. The oven is set @ 300 degrees Fahrenheit to create the necessary steam temperature in the magic roaster oven. Inside the two will sit on a pyrex plate for 45 minutes. In the mean time I keep dyeing more.
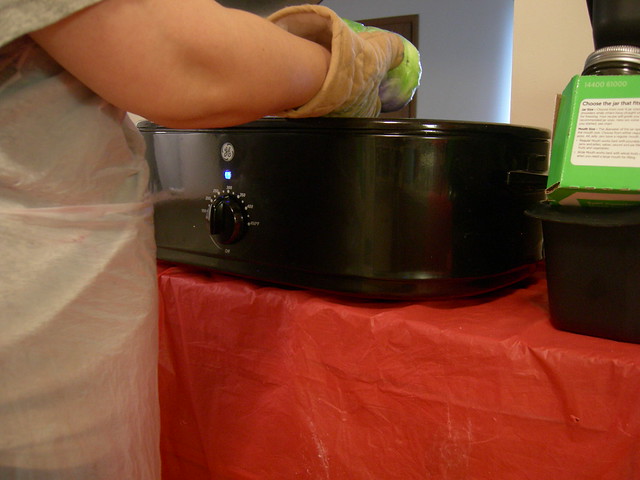
Since, I do so much dyeing at once, the roaster never fully cools. Instead the bonbons are taken out and allowed to sit until they are cool to the touch. At that point they are rinsed in warm water for 2-3 minutes. They are then put in the 'wuzzer' for about 2-3 minutes, and hung up to dry.
-The End-
Wasn't that a nice story. ;)
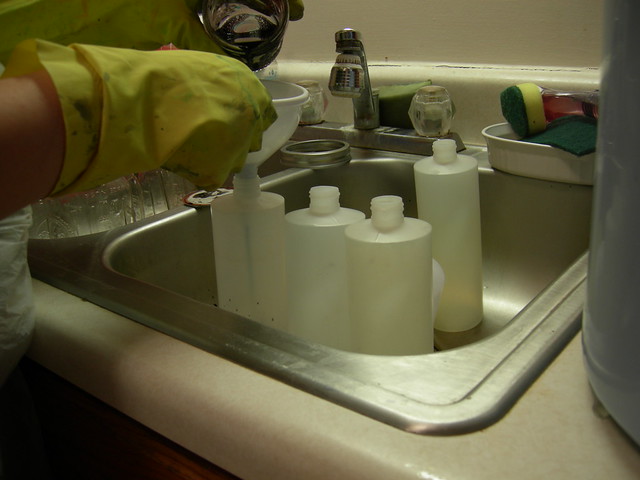
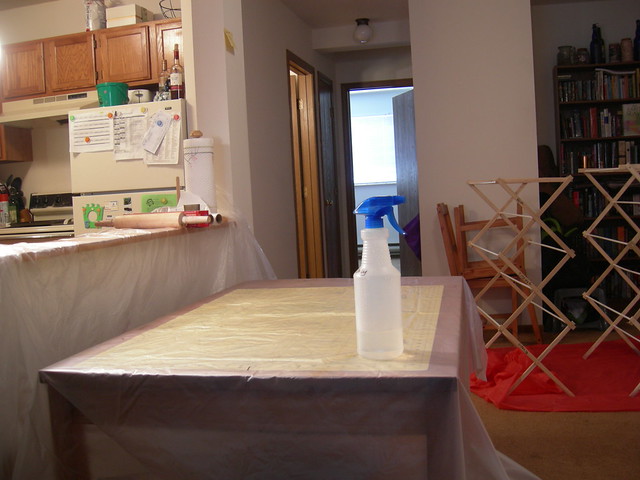
Of course, I clean my counters very often and thoroughly.
I use ammonia to cut through all the acid dyes on all surfaces.
It cuts through all of the chemicals in them to where
everything can be used as a kitchen once more.
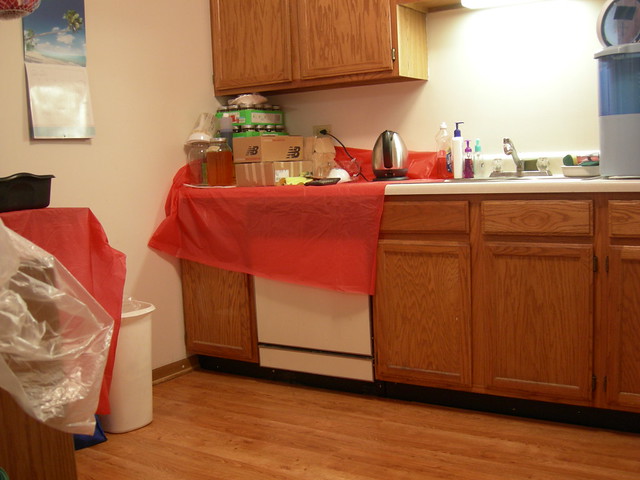
Here are other pictures of my workspace.
Here are some tips I found helpful when working with this set up.
- Plastic is your friend! Use normal to heavy duty plastic coverings on all surfaces you do not want to get dye on. My apartment is primarily carpeting. UGH!
- Use a thick clear shower curtain for your work table with a self-healing rotary cutting mat underneath. You will never need a ruler or sharpie again to gauge where color is needed.
- Perculators heat water really fast. I use mine to pour boiling water into a measuring cup away from the acid dyes. This way I can use it for regular use later.
- Ball canning jars make for excellent storage of unused dye stock.
- My favorite tool is the 'wuzzer'! It is a small laundry spin dryer. We don't have a washer dryer unit in our apartment that will allow me to skip straight to spin. It really has been the best investment in this whole process. There is less water mess, and it take less time for all my roving to dry. Hooray!
I'm going to be switching up my dye process this weekend to immersion dyeing.
Tomorrow I need to visit the outlet mall to pick up two 20 QT pots.
This should be loads of fun.
If I can get a large enough box for a mixing station, life will be grand!
Hope to see you back again soon.


No comments:
Post a Comment