Materials & Tools:
(*=optional)
 |
| Click any and all images to enlarge. |
- double sided scrapbooking paper or cardstock
- copy paper
- Fiskars Shapecutter with Tags-1 template and self cutting mat, or Di cutting tool with gift tag di
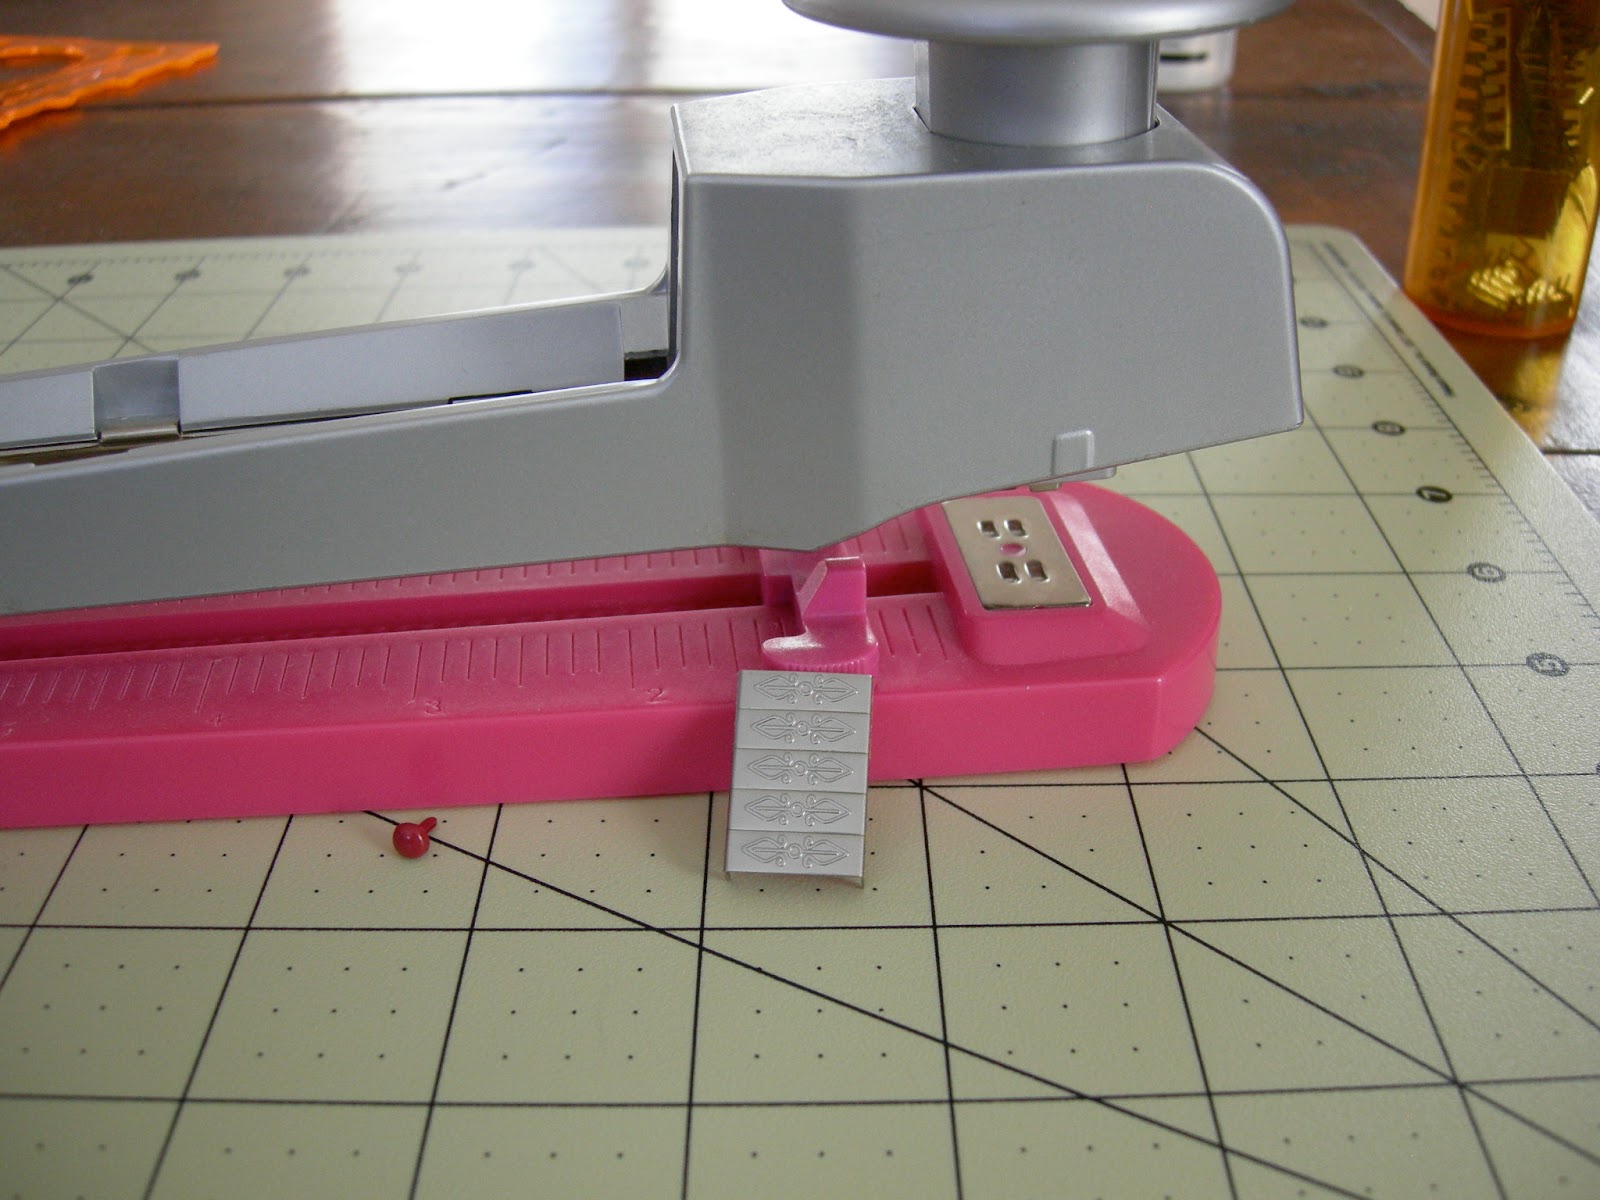
- ez success fastenator with staples
- rotary cutter or other cutting device
- bone folder
- small to medium diameter hole punch
- scissors
- binder clips
- pencil
- clear tacky glue*
- decorative notions (ribbon, buttons, glitter, etc)*
- masking tape*
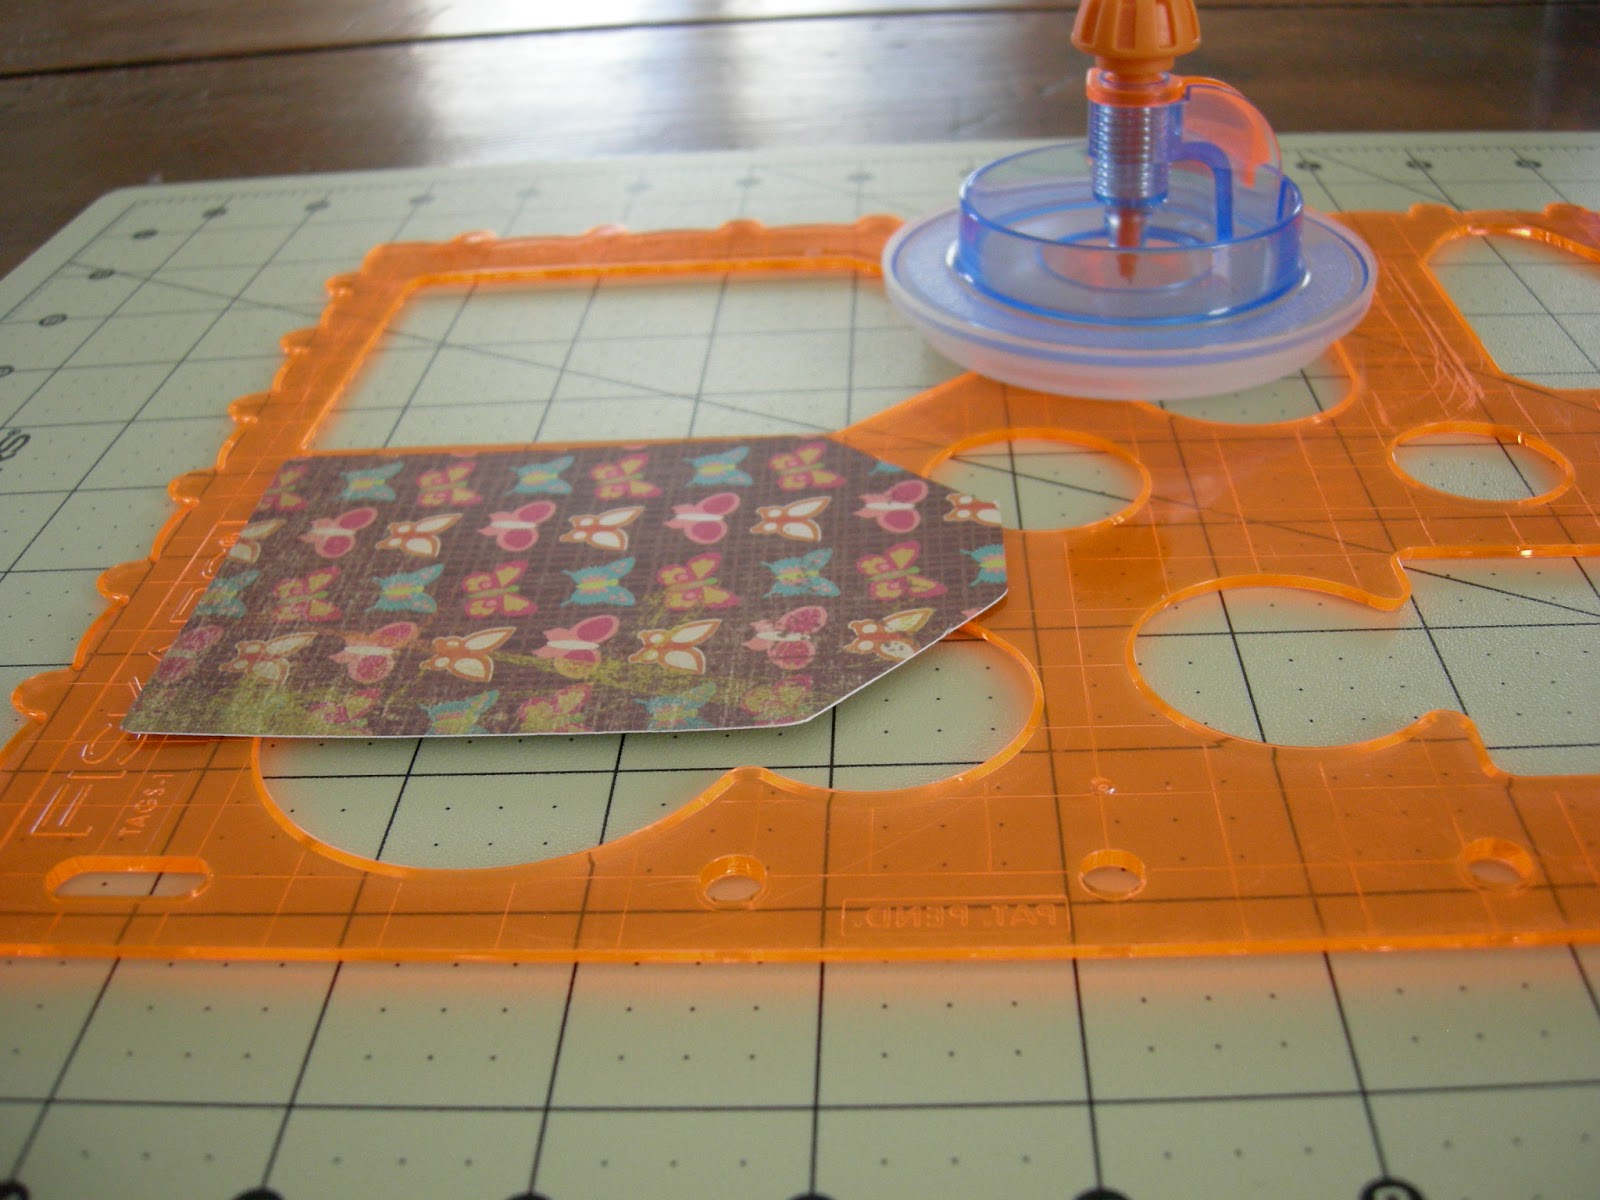
1. Cut out two large sized tags out of scrapbooking paper or cardstock from the Fiskars Template on the self healing mat, or with di cutting machine.
A quick tip: Use a couple pieces of tape to hold your Fiskars Template in place while you cut.

 2. Measure the tag in length and width. This tag is approximately 4.5" long and 3" wide.
3. Cut a rectangle .75" (3/4") shorter lengthwise and .25" (1/4") shorter than the width of the tag out of regular paper. This will be the inside of our tag.


 12. Fold back the front of the tag with a bone folder. (Bending the whole piece over will allow the tag open easier.)
14. Cut a piece of thread or yarn double the length desired.
15. Fold yarn in half and push through the hole with the front side facing you.
16. Place the ends of the yarn through the folded end and pull tight.


A quick tip: Make sure you let the glue dry all the way, or this will happen to you.
18. Once your tag is dry you can write on the inside your special message.
Other unique ideas using this project tutorial:
- Insert photos of your children, pets, or family, in place of copy paper, for a Christmas ornament your family will adore.
- Add your business card to the inside rather than a piece of copy paper for a fashionable packaging idea.
- Repurpose old cardboard shirt boxes from Christmas or other holiday events for the outside tags.
- Use fabric stiffener to create fabric tags.


No comments:
Post a Comment